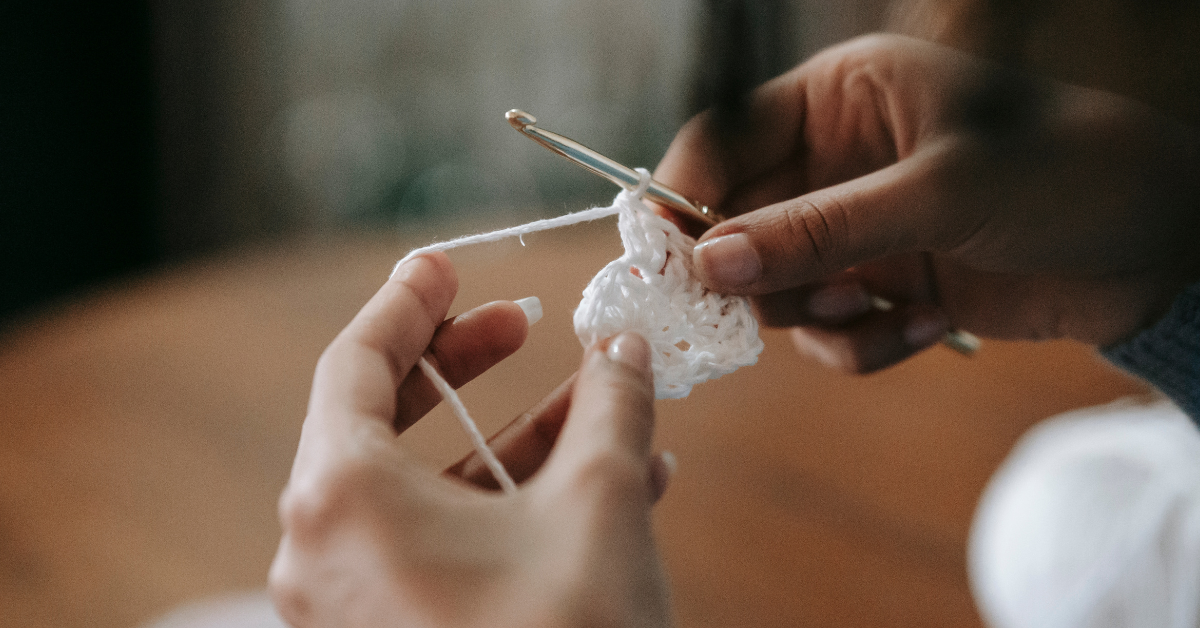
The whip stitch is a simple and versatile seaming technique used in various crafts like knitting, sewing, and crochet. Whether you’re joining knitted panels, finishing a fabric edge, or seaming crochet squares, the whip stitch is an easy and effective method to create strong, invisible (or decorative) seams. In this article, we’ll explore how the whip stitch is used across knitting, sewing, and crochet, including when to use it, how to work it, and practical tips to get neat results every time.
What Is the Whip Stitch?
The whip stitch is a basic hand-sewing technique where the needle moves over the edge of the fabric or material in a spiral motion, producing diagonal stitches that wrap around the seam. This method binds two edges together securely and can either be hidden or left visible as a decorative detail.
It’s especially popular in finishing work where machine sewing isn’t suitable, and in joining crochet or knit pieces with minimal bulk.
Whip Stitch in Knitting
In knitting, whip stitch is often used to seam together two pieces of fabric, such as when joining sweater panels, afghan blocks, or sleeves. It’s favored for its simplicity and ability to make clean joins.
How to Do Whip Stitch in Knitting:
- Lay your two knitted pieces flat with right sides facing each other.
- Thread a blunt yarn needle with a length of yarn.
- Insert the needle into both pieces at the edge, going under the first stitch or bind-off edge on each side.
- Pull the yarn through and bring the needle around again in a spiral motion.
- Continue evenly along the seam.
Tips for Knitting with Whip Stitch:
- Use a matching yarn for invisible seams.
- Keep your tension even to avoid puckering.
- Block your pieces beforehand for cleaner joins.
Whip stitch is excellent for seaming garter stitch, stockinette, and ribbed edges.
Whip Stitch in Sewing
In hand sewing, the whip stitch is commonly used to join two fabric edges, close seams, or attach patches. It’s also used in embroidery, quilting, and plush toy assembly.
How to Sew a Whip Stitch:
- Align your fabric pieces with the edges matching.
- Knot your thread and insert the needle through both layers, coming up from underneath.
- Wrap the needle over the edge and reinsert it a short distance away.
- Repeat this wrapping motion to create a row of diagonal stitches.
Best Uses in Sewing:
- Mending small tears or holes.
- Closing openings in stuffed toys.
- Hemming edges or attaching binding.
- Sewing felt or fleece (which won’t fray).
Sewists love whip stitch for its control and hand-crafted finish, especially in delicate or decorative projects.
Whip Stitch in Crochet
In crochet, whip stitch is a quick way to join motifs like granny squares, rectangles, or hexagons. It creates a nearly invisible seam when worked with matching yarn and can also be decorative with contrasting colors.
How to Crochet Whip Stitch:
- Place two crocheted pieces together, right sides facing or wrong sides together depending on the seam look you want.
- Thread a yarn needle with the same yarn used in your project.
- Insert the needle under both loops of the edge stitches on both pieces.
- Pull the yarn through, then insert the needle again slightly ahead.
- Continue around the edge, working evenly and snugly.
Why Use Whip Stitch in Crochet:
- Quick and beginner-friendly.
- Produces clean seams with little bulk.
- Can be worked on the right or wrong side.
- Great for joining afghan squares, garments, or accessories.
Tip: If working on open lacy stitches, be sure to insert the needle into sturdy parts of the stitch to prevent stretching or distortion.
Decorative vs. Invisible Seams
The whip stitch can be adapted for two different looks:
- Invisible seam: Use matching yarn or thread, tight spacing, and stitch along the edge fold.
- Decorative seam: Use contrasting yarn, leave stitches exposed, or stitch with thicker thread for a rustic or visible detail.
Pros and Cons of the Whip Stitch
Pros:
- Easy to learn and fast to work.
- Requires only a needle and yarn or thread.
- Works for many materials: yarn, fabric, felt, and more.
- Creates a durable and flexible seam.
Cons:
- Can show on the outside if not done carefully.
- May not be the strongest option for high-stress seams.
- Uneven stitches can cause puckering or imbalance.
Common Mistakes to Avoid
- Uneven tension: Causes rippling or bunching of the seam.
- Too-tight stitches: Make the seam stiff and affect drape.
- Mismatched yarn/thread: May look untidy or stand out unless intentional.
- Skipping edge stitches: Results in loose or gapped joins.
Conclusion
The whip stitch is an essential and incredibly handy technique used across knitting, sewing, and crochet. Whether you’re assembling knitted garments, closing a fabric seam, or piecing together a colorful afghan, whip stitch offers a simple, effective, and neat way to join your work.
If you’re just beginning your crafting journey, mastering the whip stitch gives you a solid foundation in finishing techniques that can elevate your projects. And if you’re more advanced, refining your whip stitch can bring polish and professional results to handmade items. Give it a try on your next project—it’s one of those skills that every crafter benefits from knowing.

