
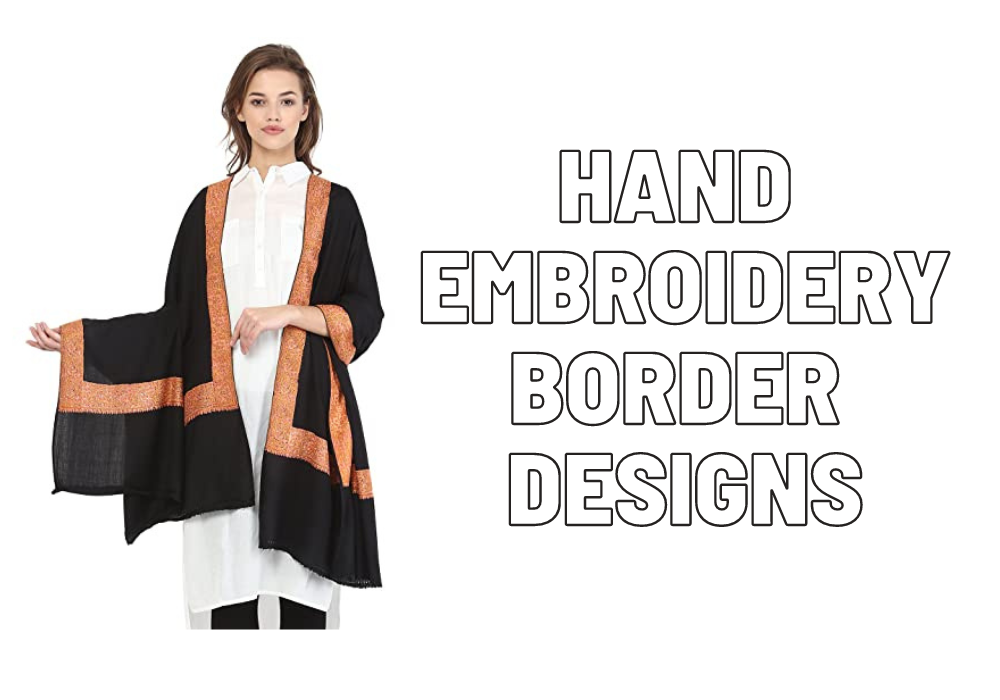
Hand embroidery is a timeless art form that allows you to add a personal touch to various fabrics and projects. Border designs are a popular choice for hand embroidery as they are easy to create and can add a decorative touch to the edge of a fabric, such as a tablecloth or a napkin. Here’s a step-by-step guide to creating easy hand embroidery border designs:
Materials You Need For Hand Embroidery
- Fabric: Choose a suitable fabric that can withstand stitching, such as cotton or linen.
- Embroidery hoop: This is used to hold the fabric taut while you work.
- Embroidery needle: A sharp, fine-eyed needle is best for hand embroidery.
- Embroidery floss: Choose a color that matches or complements your fabric.
- Scissors: A small, sharp pair of scissors is essential for snipping the threads.
- Transfer pencil: This is used to trace the design onto the fabric.
- Pattern: Choose a simple border design you like, or create your own.
Decorative border stitches
The embroidery borders can be turned into two or three rows and used as a single row. You can add additional embellishments like beads and sequins to make them more attractive. The entire step is merely a guideline to inspire you to combine different elements to make additional designs appropriate for working on borders.
Step By Step Guide To Create An Easy hand Embroidery Border Designs
Step1- Choose a design:
Start by selecting a border design that you like. You can find simple border designs in embroidery books online or create your own using stencils or transfer paper.
Step2- Trace the design:
Once you have chosen your design, trace it onto the fabric using transfer paper or a water-soluble pen. Follow the instructions carefully to avoid smudging or damaging the fabric.
Step3- Hoop the fabric:
Place the fabric in the embroidery hoop and tighten it, so the fabric is taut. This will make it easier to stitch evenly and ensure that the finished product has a smooth surface.
Step4- Start stitching:
Begin at one end of the border design and work your way around. To create a neat border, you can use a simple stitch, such as a backstitch or a stem stitch.
Step5- Follow the pattern:
Make sure to follow the pattern carefully, keeping the stitches neat and even. You can adjust the tension as you work to ensure that the fabric remains taut.
Step6- Finish the back:
When you’re finished with a section of stitching, take the needle to the back of the fabric and make a few stitches through the fabric to secure the end. Cut the floss close to the fabric, leaving a short tail.
Step7- Repeat the process:
Continue stitching the border design around the entire piece of fabric. If you use multiple colors, change the floss when you reach the end of each section.
Some Main Tips You Need To Know:
- Experiment with different stitches to find the ones you like best.
- Start with a simple border design and work up to more complex designs.
- Use a hoop to keep the fabric taut and prevent wrinkles or skews.
- Take your time and enjoy the process. Hand embroidery is a relaxing and meditative hobby that can help you unwind and de-stress.
Summary On How We Create Easy Hand Embroidery Border Designs
In conclusion, creating a hand embroidery border design is a simple and satisfying project that anyone can do, regardless of their skill level. With a few basic materials and patience, you’ll be able to create beautiful and unique borders that can be used to decorate various items, from table runners to tea towels and more. So grab your hoop and needle and start stitching today!