
Whether you’re looking to reuse an old piece of clothing or just purchased a piece of clothing with unsightly embroidery for sale, there are several reasons why you might want to remove some embroidery. Want to know how to remove embroidery from a shirt?
You may also need to remove the embroidery from the fabric to create clean stitch lines in your sewing project.
Fortunately, embroidery is not permanent. Below are easy and practical tools to remove embroidery without damaging your shirt fabric.
How to remove embroidery from the shirt fabric?
Embroidery is a great way to add style and detail to a dress. However, if you make a mistake or change your mind about the design, you must remove the embroidery. Fortunately, this is easy to do. Then, with a bit of ironing, you’ll even be able to remove holes left behind by sewing without seams!
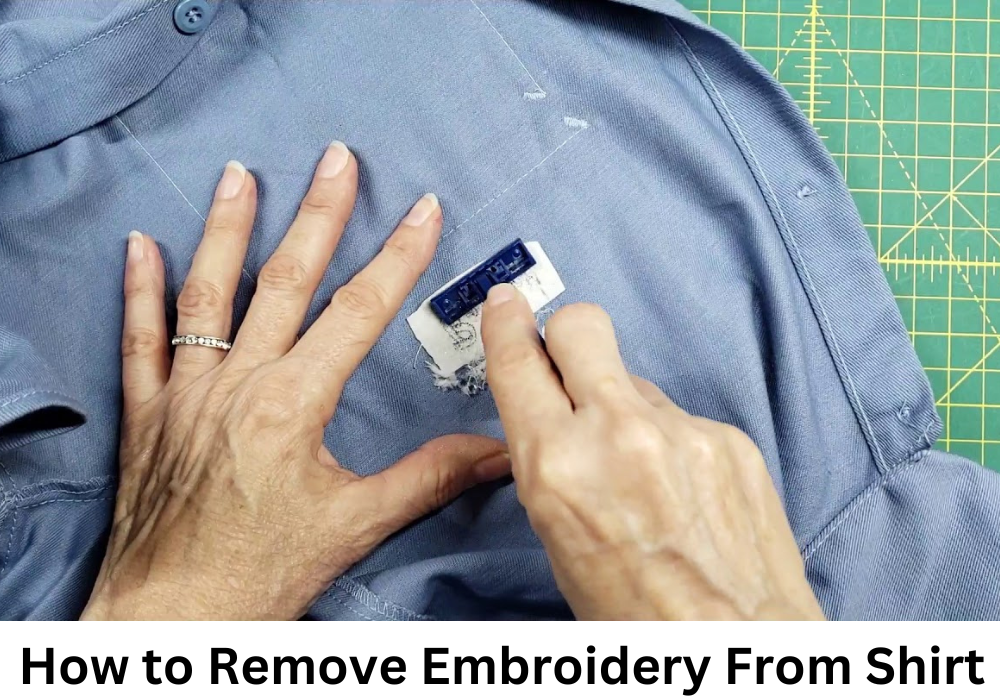
Tools For Remove The Embroidery From Shirt
There are many tools to help you remove the embroidery. Some are as simple as scissors, others as ingenious as embroidery hoops.
The most common is a suture wrap, a small, sharp tool that can cut seams carefully. Another option is to use a sharp knife or scissors to remove the embroidery from the fabric carefully.
It doesn’t matter which tool you use; the goal is to remove the embroidery and all loose threads without damaging the shirt fabric.
Use a sewing cleaner.
A sew cleaner is a battery or electric sew ripper similar to an electric shaver or trimmer.
How do we use it? Use a smooth surface when using the sew cleaner to remove embroidery stitches from the shirt. Otherwise, chemicals can cause serious health problems.
In just a few seconds, you can see the back sew. Depending on the density of the fabric, you may need to use the sewing cleaner several times until all unwanted sew, and seams are removed.
Use of hand razor
A manual shaver works faster than a seam cleaner or an electric shaver. Plastic razors are very affordable and easy to find at any store.
Place the material on a flat surface and hold it firmly to remove the embroidery. Gently place the razor behind the embroidery.
After the stitches are finished, turn the fabric inside out and remove the outer threads. Use a comb to remove any remaining strands.
Use of electric shakers
If you have an embroidered shirt you want to take off, you can do a few different things with it. One way to remove the embroidery is with an electric shaker.
A device that vibrates fabric embroidery. It’s a relatively quick and easy process that doesn’t require any special skills or knowledge.
First, you’ll need to find an electric shaker at most craft stores. Once you have your shaker, you must remove the lining from the embroidery.
To do this, you’ll need one hand for the embroidery and the other for the shaker. If the lining is loose, it can be removed from the embroidery.
After removing the stitches, twist the fabric with your fingers to remove it. Use duct tape to clean the surface.
Tips on how to remove the embroidery
When embroidering, it is normal to have some lining and embroidery thread on the shirt fabric because the lining is necessary to stabilize the fabric during the embroidery process.
When you have finished your embroidery project, the final step is to remove the embroidery from the machine. If you are not careful and do not use the embroidery removal tool, you may damage the fabric or embroider yourself.
Here are some tips to help you safely and efficiently remove backups:
- First, you will need a pair of scissors.
- Second, you have to be careful not to cut the fabric and then delete the back of the extra embroidery on the outside of the design.
- Gently peel off the embroidery, careful not to pull on the stitching.
- After removing the backing, gently brush off any loose embroidery threads.
- Eventually, you will need to iron the area to remove any wrinkles.
With patience, you can finish your embroidery in no time!
Final Thought
Embroidery is a beautiful craft, but there are times when you want to do it with fabric. You may have made a mistake, or the design needs to be more selectable. Whatever the reason, removing the embroidery on the lining is not tricky.
Start by trimming excess thread from the edges of your design. Then use sewing paper to remove the stitches carefully.
Once the seams are removed, it bakes quickly. If this does not happen, you can use tape to remove it.
With time and patience, the embroidery can be easily removed with baking and machine embroidery stitching.