
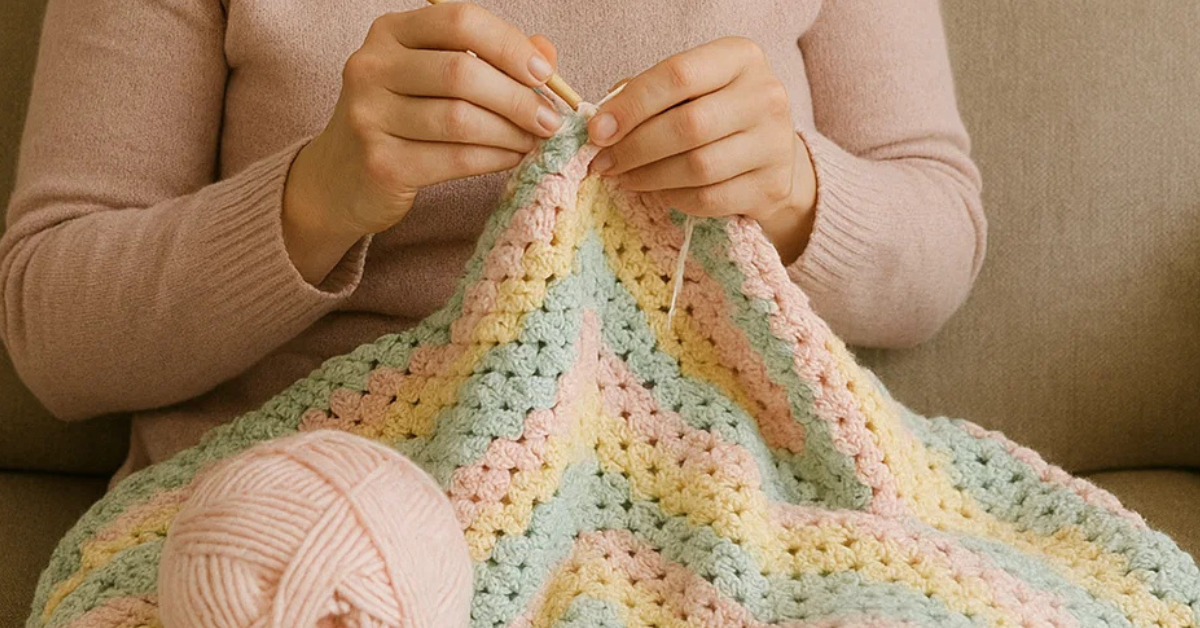
Knitting a baby blanket is one of the most heartwarming and practical gifts you can make. It’s a beginner-friendly project that allows you to experiment with soft yarn, simple stitches, and meaningful craftsmanship. Whether you’re knitting for your own baby, a friend, or as a keepsake, learning how to knit a baby blanket is a perfect starting point for new knitters.
In this guide, you’ll learn how to knit a baby blanket from start to finish, including choosing the right yarn and needles, selecting a pattern, understanding basic stitches, and tips for a beautiful finish.
Why Knit a Baby Blanket?
Baby blankets are ideal for new knitters because:
- They’re rectangular (no shaping required)
- You can make them as simple or complex as you like
- They’re a cherished and useful gift
- You’ll practice consistent tension and stitch control
What You Need to Knit a Baby Blanket
Yarn
Choose a soft, machine-washable yarn in a worsted weight or DK weight for warmth and ease of care. Acrylic, cotton, or a baby-specific blend are good options. You’ll need about 600–1000 yards depending on the size.
Knitting Needles
Use straight or circular needles depending on your blanket’s width. Size US 8–10 (5–6 mm) is standard for worsted yarn.
Other Supplies
- Scissors
- Tapestry/yarn needle (for weaving in ends)
- Measuring tape
- Stitch markers (optional)
Step-by-Step: How to Knit a Baby Blanket
Step 1: Choose a Pattern or Stitch
For beginners, stick with one of these simple stitch options:
- Garter Stitch (knit every row): Soft, squishy, and lays flat
- Stockinette Stitch (alternate knit and purl rows): Smooth on one side, but edges curl — add a garter border
- Seed Stitch (alternate knit and purl stitches every row): Textured and reversible
- Basketweave Stitch: Great texture using simple knits and purls
We’ll use Garter Stitch in this example for ease and coziness.
Step 2: Decide on Blanket Size
Standard baby blanket sizes:
- Stroller: 30 x 35 inches
- Receiving: 28 x 34 inches
- Crib: 36 x 52 inches
Let’s use a 30 x 35-inch size for our example.
Step 3: Cast On
Use the long tail cast-on method for a stretchy, clean edge.
If you’re using worsted weight yarn and US 9 needles:
- Gauge: ~4.5 stitches per inch
- Width: 30 inches
- Cast on: 4.5 × 30 = 135 stitches
Tip: Add a border of 5 stitches on each side in garter stitch if using stockinette or a decorative stitch.
Step 4: Knit the Blanket
Knit every row for garter stitch until your blanket measures about 35 inches long.
If using a pattern:
- Follow the stitch instructions row by row
- Use stitch markers to keep track of repeats or borders
Keep your tension even and count your stitches occasionally to ensure consistency.
Step 5: Bind Off
When the blanket reaches your desired length:
- Bind off loosely using the standard bind-off method
- Make sure the edge isn’t tight — go up a needle size if needed
Step 6: Finish the Blanket
- Weave in all loose ends using a yarn needle
- Block the blanket (optional): Lay flat, dampen slightly, and shape for an even finish
- Wash according to yarn label before gifting
Customizing Your Baby Blanket
- Stripes: Change yarn colors every few inches for colorful bands
- Borders: Add ribbing, seed stitch, or crochet edging
- Personalization: Add initials or a knit-in pattern with basic charting
Tips for Success
- Use stitch counters if your pattern has repeats
- Keep a knitting journal or notepad to track rows if needed
- Don’t rush — enjoy the process, especially if it’s your first big project
- Make a gauge swatch if you’re following a specific pattern size
Final Thoughts on How to Knit a Baby Blanket
Learning how to knit a baby blanket is a rewarding journey, perfect for building confidence and expressing care through handmade comfort. Whether you stick to garter stitch or explore more advanced patterns later on, this project is one you’ll cherish and be proud to gift.
With just yarn, needles, and a little patience, you’ll create something cozy and meaningful — a warm welcome for a little one into the world.