
Learning how to cast on knitting is the very first step in starting any knitting project. Casting on creates the foundation row of stitches on your needle, allowing you to begin knitting rows to form fabric. Whether you’re planning to make a simple scarf or a detailed sweater, a good cast-on technique sets the tone for your entire project.
In this guide, you’ll learn what casting on means, the different types of cast-ons, and a step-by-step tutorial for the most popular method — the long tail cast-on — plus tips for success.
What Does “Cast On” Mean in Knitting?
To “cast on” means to create the initial loops (stitches) on your needle, which serve as the base row for your knitting. It’s the beginning of your project and is done before any knit or purl stitches.
There are many ways to cast on, and each technique offers different properties — some are stretchy, some are sturdy, and some are decorative. The most commonly used cast-on for beginners is the long tail cast-on.
What You’ll Need
- A pair of knitting needles
- Yarn of your choice
- Scissors (optional for trimming tail)
Popular Methods to Cast On
Here are some common cast-on methods and when to use them:
- Long Tail Cast-On – Great for most projects; stretchy and clean
- Knit Cast-On – Easy to learn; good for beginners
- Cable Cast-On – Firm edge; great for borders
- Thumb Cast-On (Single Loop) – Quick but loose; often used for practice
- German Twisted Cast-On – Stretchier version of long tail; ideal for socks or cuffs
Let’s focus on the most widely used and beginner-friendly: the long tail cast-on.
How to Cast On Knitting with the Long Tail Method
Step 1: Estimate Your Tail
Pull out a yarn tail roughly 1 inch for each stitch you plan to cast on, plus a few extra inches for weaving in. For example, if you need 30 stitches, pull out about 35–40 inches of yarn.
Step 2: Make a Slip Knot
Make a slip knot and place it on one of your needles. This counts as your first stitch.
Step 3: Hold the Yarn
Hold the needle with the slip knot in your right hand.
With your left hand:
- Place your thumb and index finger between the two yarn strands (the tail and the working yarn from the ball).
- Use your other fingers to hold the yarn ends against your palm.
- Spread your thumb and index finger apart to create a triangle shape with the yarn.
Step 4: Loop Under and Over
- Move the needle under the strand on your thumb (from front to back).
- Then move the needle over the strand on your index finger and pull it through the loop on your thumb.
- Drop the loop off your thumb and gently tighten the new stitch on the needle.
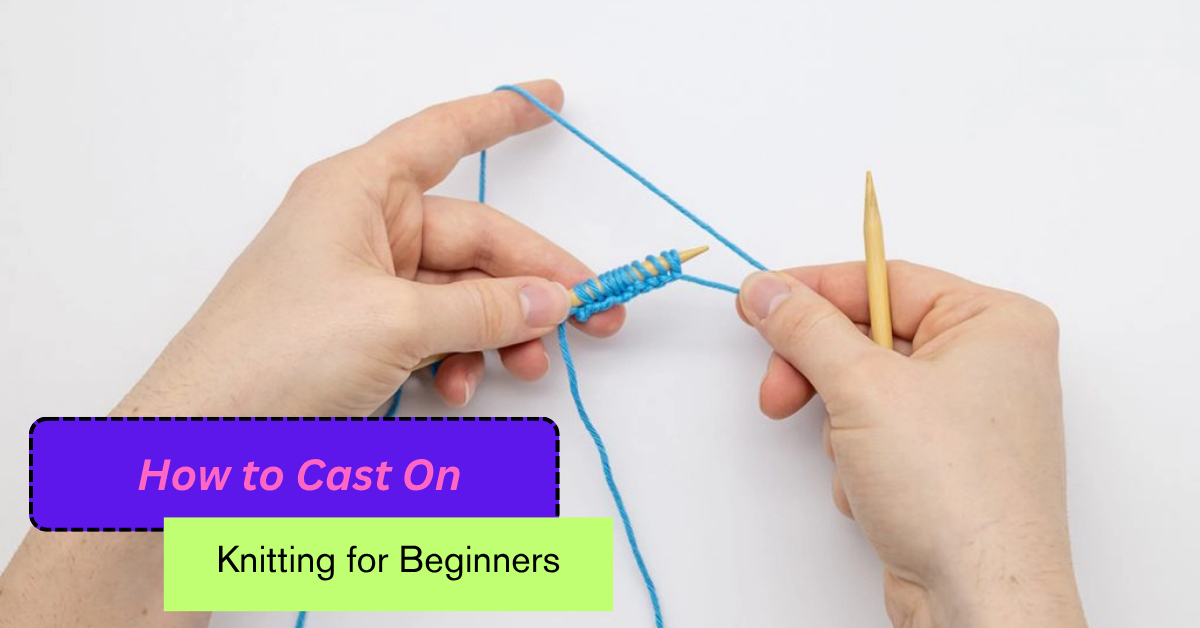
You’ve just cast on one stitch! Repeat this motion until you have the desired number of stitches.
Step 5: Begin Knitting
Once you’ve cast on all your stitches, turn your work and start knitting the first row according to your pattern.
Tips for a Better Cast On
- Not too tight: Keep stitches loose enough to move easily on the needle.
- Count carefully: Always count your stitches to avoid mistakes.
- Practice makes perfect: Repeat the cast-on a few times to develop muscle memory.
When to Use Different Cast-On Methods
| Cast-On Type | Best For |
|---|---|
| Long Tail | General use, stretchy edges |
| Knit Cast-On | Adding stitches mid-project |
| Cable Cast-On | Firm edges (like sweater hems) |
| German Twisted | Stretchy starts (socks, hats) |
| Provisional Cast-On | Projects that need live stitches |
Troubleshooting Common Problems
- Too tight stitches: Try using a larger needle for the cast-on row.
- Uneven edge: Focus on consistent tension and practice regularly.
- Ran out of tail: Undo and pull a longer tail next time. You can also switch to a knit cast-on if needed.
Final Thoughts on How to Cast On Knitting
Mastering how to cast on knitting is a foundational skill that opens the door to all kinds of creative projects. Once you’re comfortable with the long tail cast-on, you can explore other techniques to suit specific patterns and styles.
The best way to improve is to keep practicing. Cast on, knit a few rows, then unravel and repeat. With time, your tension will improve, and your cast-on edge will look clean and even.
So grab your yarn and needles, and get ready to begin your next knitting adventure—one stitch at a time.