
What Is Grafting in Knitting?
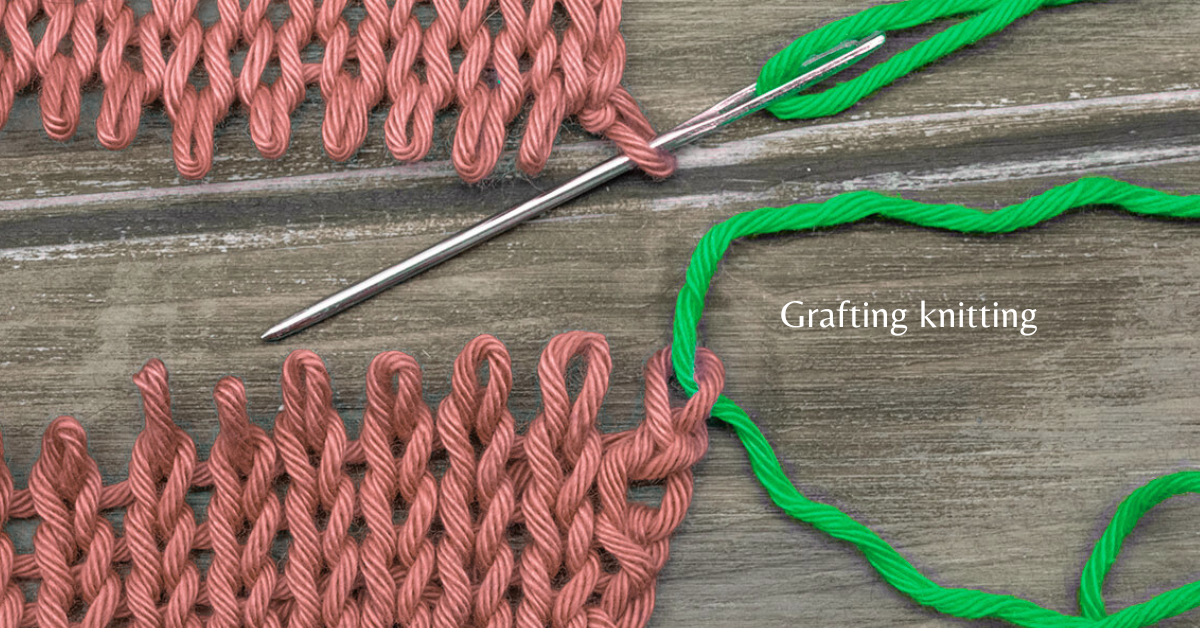
Grafting knitting is a technique used to seamlessly join two sets of live stitches, often at the ends of knitted fabric. The goal of grafting is to create a join that is nearly invisible—one that looks like a continuous row of stitches rather than a seam. It’s commonly used for finishing toes in socks, closing the tops of hoods, or connecting sections of a garment.
The most well-known form of grafting is Kitchener stitch, which joins two stockinette stitch pieces together. However, grafting can also be adapted for garter stitch, ribbing, and lace.
Why Use Grafting in Knitting?
- Seamless finish: No ridge or bulky seam
- Professional look: Especially important in visible areas
- Comfort: Ideal for garments like socks or cowls
- Durability: Secure, strong join for long-lasting projects
When to Use Grafting
- Closing sock toes (top-down or toe-up)
- Joining two halves of a scarf or cowl
- Finishing sweater shoulders or sleeves
- Repairing damaged knits
- Connecting modular pieces (like blanket squares)
What You Need for Grafting knitting
- Two knitting needles holding live stitches
- A tapestry or yarn needle
- A length of yarn (ideally the same as your project yarn)
- Scissors
Optional: A stitch marker to keep track of the start of the row
How to Graft Using Kitchener Stitch (Stockinette Stitch)
This is the most common grafting method.
Let’s assume you have an equal number of live stitches on two needles, front and back, and you’re working in stockinette stitch.
Step-by-Step Instructions:
- Prep: Hold both needles parallel with the tips pointing to the right. The front needle’s right side faces you.
- Thread your yarn needle with a long tail (about 3 times the width of your piece).
- Setup:
- Insert yarn needle purlwise into the first stitch on the front needle (leave stitch on)
- Insert yarn needle knitwise into the first stitch on the back needle (leave stitch on)
- Repeat this four-step sequence:
- Front needle: Insert needle knitwise, pull yarn through, and slip off the stitch
- Front needle: Insert purlwise into next stitch (leave it on)
- Back needle: Insert purlwise, pull yarn through, and slip off the stitch
- Back needle: Insert knitwise into next stitch (leave it on)
- Repeat this sequence until all stitches are grafted.
- Finish off: Weave in the tail securely on the inside of the work.
Grafting Knitting Smooth Tips
- Maintain even tension to avoid a bumpy or loose join.
- Work slowly and deliberately—precision matters more than speed.
- Use matching yarn to keep the graft invisible.
- Practice on a swatch before doing it on a finished piece.
Grafting Other Stitch Patterns
While Kitchener stitch is great for stockinette, there are variations for other stitch types:
- Garter stitch: Alternates between knit and purl rows; you’ll follow a slightly different sequence.
- Ribbing: Requires careful attention to the knit and purl columns to maintain pattern continuity.
- Lace: Can be complex; many patterns recommend grafting in pattern with charts.
Each variation has its own grafting method, and patterns usually include instructions for these situations.
Alternatives to Grafting Knitting
If grafting feels too technical or tedious, you can try:
- Three-needle bind-off: Easier but leaves a ridge
- Mattress stitch: Used for seaming, not for live stitches
- Provisional cast-ons with binding off together: Useful in planning seamless joins
But for a truly seamless look, grafting is the gold standard.
Final Thoughts on Grafting Knitting
Grafting knitting might seem intimidating at first, but once you master it, you unlock a new level of polish and professionalism in your knitting. Whether you’re finishing socks or joining two panels, grafting creates a smooth, seamless fabric that’s as functional as it is beautiful.
Would you like a printable grafting cheat sheet or a video demonstration of Kitchener stitch?