
The garter stitch in knitting is one of the first and most important stitches every beginner should learn. It’s created by knitting every row, resulting in a squishy, ridged fabric that is reversible, lies flat, and is incredibly easy to work with. Despite its simplicity, the garter stitch is versatile and used in countless projects from scarves and blankets to dishcloths and even garments.
What Is Garter Stitch?
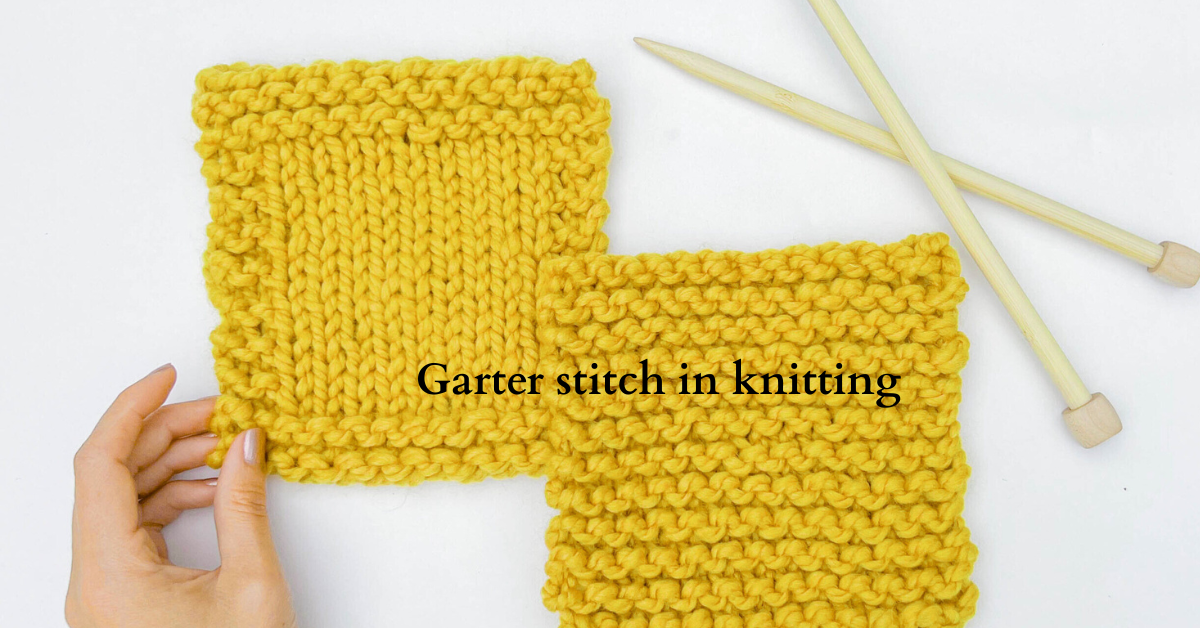
Garter stitch is made by knitting every row when working flat. Unlike stockinette stitch, which alternates knit and purl rows, garter stitch doesn’t require any purling unless you’re working in the round.
When you knit every row, the yarn loops form ridges, giving the fabric a bumpy, cozy texture on both sides. This makes garter stitch reversible, meaning both sides look the same—a big advantage for many projects.
How to Knit Garter Stitch
Materials Needed:
- Knitting needles (any size)
- Yarn (worsted weight is good for beginners)
Steps:
- Cast On your desired number of stitches.
- Knit every stitch in the row.
- Turn your work, then knit every stitch in the next row.
- Repeat Step 3 for every row.
That’s it! As you continue knitting, you’ll see the characteristic horizontal ridges of garter stitch begin to form.
Counting Garter Stitch Rows
Each ridge (raised line) across your fabric is made from two rows of knitting. To count your rows:
- Count the ridges
- Multiply by 2
For example, 10 ridges = 20 rows of garter stitch.
Advantages of Garter Stitch
- Beginner-friendly: No purling involved
- Does not curl: Lies flat, perfect for scarves and borders
- Stretchy and elastic: Comfortable for wearables
- Reversible texture: Looks the same on both sides
- Great stitch definition: Easy to see and count rows
Projects You Can Make with Garter Stitch
The simplicity of the garter stitch makes it perfect for:
- Scarves
- Blankets
- Washcloths and dishcloths
- Sweaters with modern texture
- Shawl and wrap edges
- Baby clothes and accessories
You can also use garter stitch as a border for projects using other stitches, since it doesn’t curl like stockinette does.
Garter Stitch in the Round
If you’re knitting in the round and want to achieve the garter stitch texture, you can’t just knit every round. Instead, you must:
- Knit one round, then
- Purl the next round, and repeat
This alternation mimics the texture of garter stitch when working flat.
Garter Stitch Patterns and Variations
Though it’s basic, garter stitch pairs well with other stitches to create beautiful patterns. You can try:
- Stripes using two or more colors
- Garter stitch borders on a stockinette body
- Short rows in garter stitch for shaping or visual interest
- Slipped stitches for extra texture
- Lace patterns over a garter base
Troubleshooting Garter Stitch
- Loose edges? Try slipping the first stitch of each row to create a neater edge.
- Uneven tension? Practice makes perfect—relax your hands and keep stitches consistent.
- Lost count? Count ridges (each ridge = 2 rows).
Final Thoughts on Garter Stitch in Knitting
The garter stitch in knitting is a foundational skill that every knitter should master. Its simplicity, flexibility, and reliability make it ideal for beginners and advanced knitters alike. Whether you’re creating your first scarf or adding texture to a sweater, garter stitch delivers warmth, texture, and beauty in every row.