
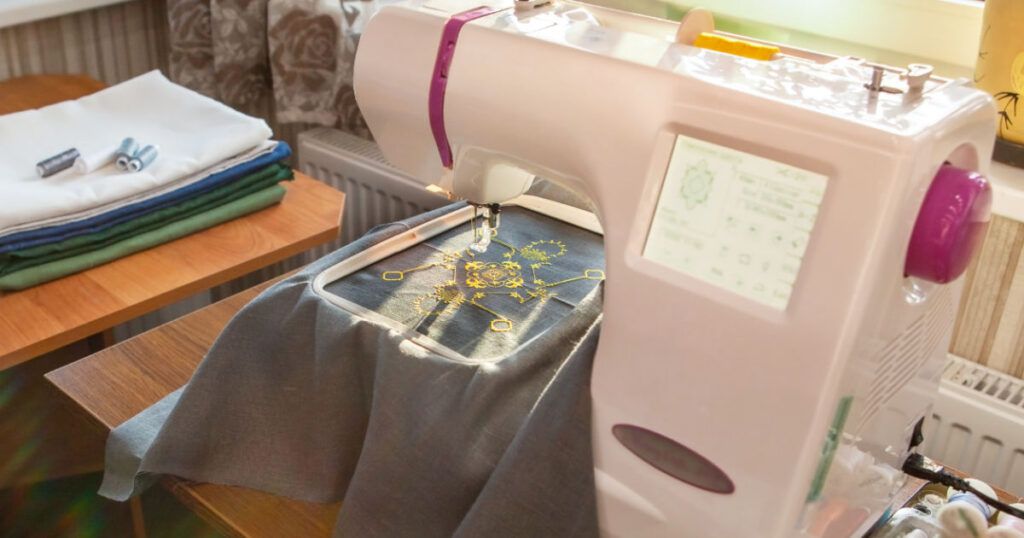
The stabilizer is the foundation of quality machine embroidery. But with so many products available, choosing the right stabilizer can be confusing and overwhelming! Below is a comprehensive Embroidery Stabilizer Guide; you need to know about common stabilizers and more!
Main Types of Stabilizers
Here we will discuss four types of stabilizers and their uses. Other stabilizers are available, but they are common for those new to machine embroidery!
1- Tear Away
When you sew your project, this stabilizer is torn from the material and design. This tear stabilizer offers significantly less support than the cut stabilizer and is generally used for projects where the back of the design will look like a kitchen towel.
2- Cut Away
This is the strongest and most durable form of stabilizer. It offers the most support for your design and is permanent. This stabilizer offers durable support for its stitched design and can handle heavy use and multiple washing items.
3- Wash Away
This type of stabilizer does not provide permanent support as it will completely disappear when immersed in water. Wash Away Stabilizer is often used with unique fabrics such as lace or mesh. This stabilizer alone will not work well for a high loop count design and should only be used on washable fabrics.
4- Top Stitch
This type of stabilizer is also called a “topper” because you use it on the material you are embroidering, between the material and the em. It is challenging to embroider on such fabrics, but we know many want to create patterns on cute woolen jackets and towels. The top stitching will be your best bet for keeping your design sharp and beautiful on these projects. This stabilizer can be removed like a tear, and residue can be wiped away with a damp cloth.
Embroidery Stabilizer Guide for Choosing the Correct One
- If the pattern designer suggests embroidery stabilizers, follow them- They work great. The trainer has tested different stabilizers and decided which is perfect. This is the best way to know what works with embroidery stabilizers if you are new to them.
- Always use different coatings of stabilizers– Which one is for you? Why take the chance of wishing you had used enough stabilizer to be successful? Take your time. Always use two coats of stabilizer, even when trying out a new embroidery design.
- Attach stabilizer to fabric whenever possible– For best results, attaching stabilizer to textile will give you the best chance of sensation. When the fabric is not hooped with interlining, there will always be room for mistakes, wrinkles, and imperfect contours. Using magnetic eyelets or even an adhesive fastener can produce results that might be adequate if the material is hooped with the stabilizer.
- Embroidery stabilizers are selected based on the fabric- Stretch fabrics need embroidery stabilizers for cutting, and woven fabrics need embroidery stabilizers for tearing. Follow these basic procedures when determining which stabilizer category to work with. Once selected, there are many different weights and styles of shear and tear stabilizers. Depending on the element’s use, the style needed will be further reduced.
- Avoid OFF-brand embroidery stabilizers– There may be a reason embroidery stabilizer prices seem so low. Quality stabilizers make all the difference. Just remember to buy a non-brand embroidery stabilizer. The stabilizer must be stable; otherwise, the embroidery stitches will deteriorate and give a less-than-perfect result.
Conclusion On Embroidery Stabilizer Guide
As with most things, machine embroidery takes trial and error and lots of practice! Finally, you’ll find your preferences for the material and types of embroidery and stabilizer to use. We recommend stocking up on various types of stabilizers and pulling out some old clothes made of different materials from your closet to practice on them.
I hope this has clarified the embroidery stabilizer selection process because choosing the best embroidery stabilizer for your next project increases your chances of success exponentially!